Home automation presents a fun way to experiment with these emerging technologies using the Internet of Things. It also makes your home life easier.

Image: iStock/AndreyPopov
I became fascinated with home automation when I saw a TV show several decades ago with a much younger Bill Gates in which he commanded his home to turn on the lights, and moments later they switched on. I was hooked, and in the intervening years, spent countless, often frustrating hours experimenting with home automation. For years, home automation was largely a niche hobby. However, the recent explosion of interest around the Internet of Things has cross-pollinated the home automation space. This has resulted in not only better tools, but allows one to experiment with all the industrial-grade IoT technologies from the comfort of the home.
Editor’s note: Catch up on the previous installments of this six-part home lab series: How to build a home lab, Software for your home lab, How and why to add Node-RED to your home lab, How to use RESTful APIs with Node-RED and How to build a home automation project with RESTful APIs in Node-RED. Stay tuned for more tech projects for IT leaders.
How to automate with Home Assistant
The heart of any automated home is a piece of software called the controller. As you might expect, the controller integrates various devices and executes the actual logic that makes home automation useful. Aside from the basics like turning lights on and off at sunset and sunrise, modern tools can geolocate phones and perform actions when different people arrive or leave, or even use public APIs to determine if it’s a school holiday and perform specific actions. With the prevalence of home assistant devices like the Amazon Alexa, I can finally realize my teenage dream of shouting commands to no one in particular, and seeing lights turn on and off.
SEE: 5 Internet of Things (IoT) innovations (free Pdf) (TechRepublic)
Like a lot of innovation these days, much of the action in home automation is driven by the open source community. One of the most capable automation controllers and the associated tools comes from the community in the guise of a software package called Home Assistant.
Home Assistant is relatively straightforward to install once you figure out the somewhat confusing (and recently changed) nomenclature. If you followed the previous guide to setting up a home lab server, you can follow the Home Assistant instructions for the Home Assistant Operating System, using a Linux KVM virtual machine. Installations are also available for Raspberry Pi and other operating systems, but the Home Assistant Operating System contains everything you need for Home Assistant, including a Linux-based underlying operating system and several popular integrations.
How to activate your assistant
Once you’ve uploaded the virtual machine file, configured and started it on your server, you’ll have a web-based front-end that provides an interface to your home. The interface also provides various configuration tools, and once you set up some devices and configure your dashboard, it may look something like this:
Our Home Assistant dashboard
” data-credit> Our Home Assistant dashboard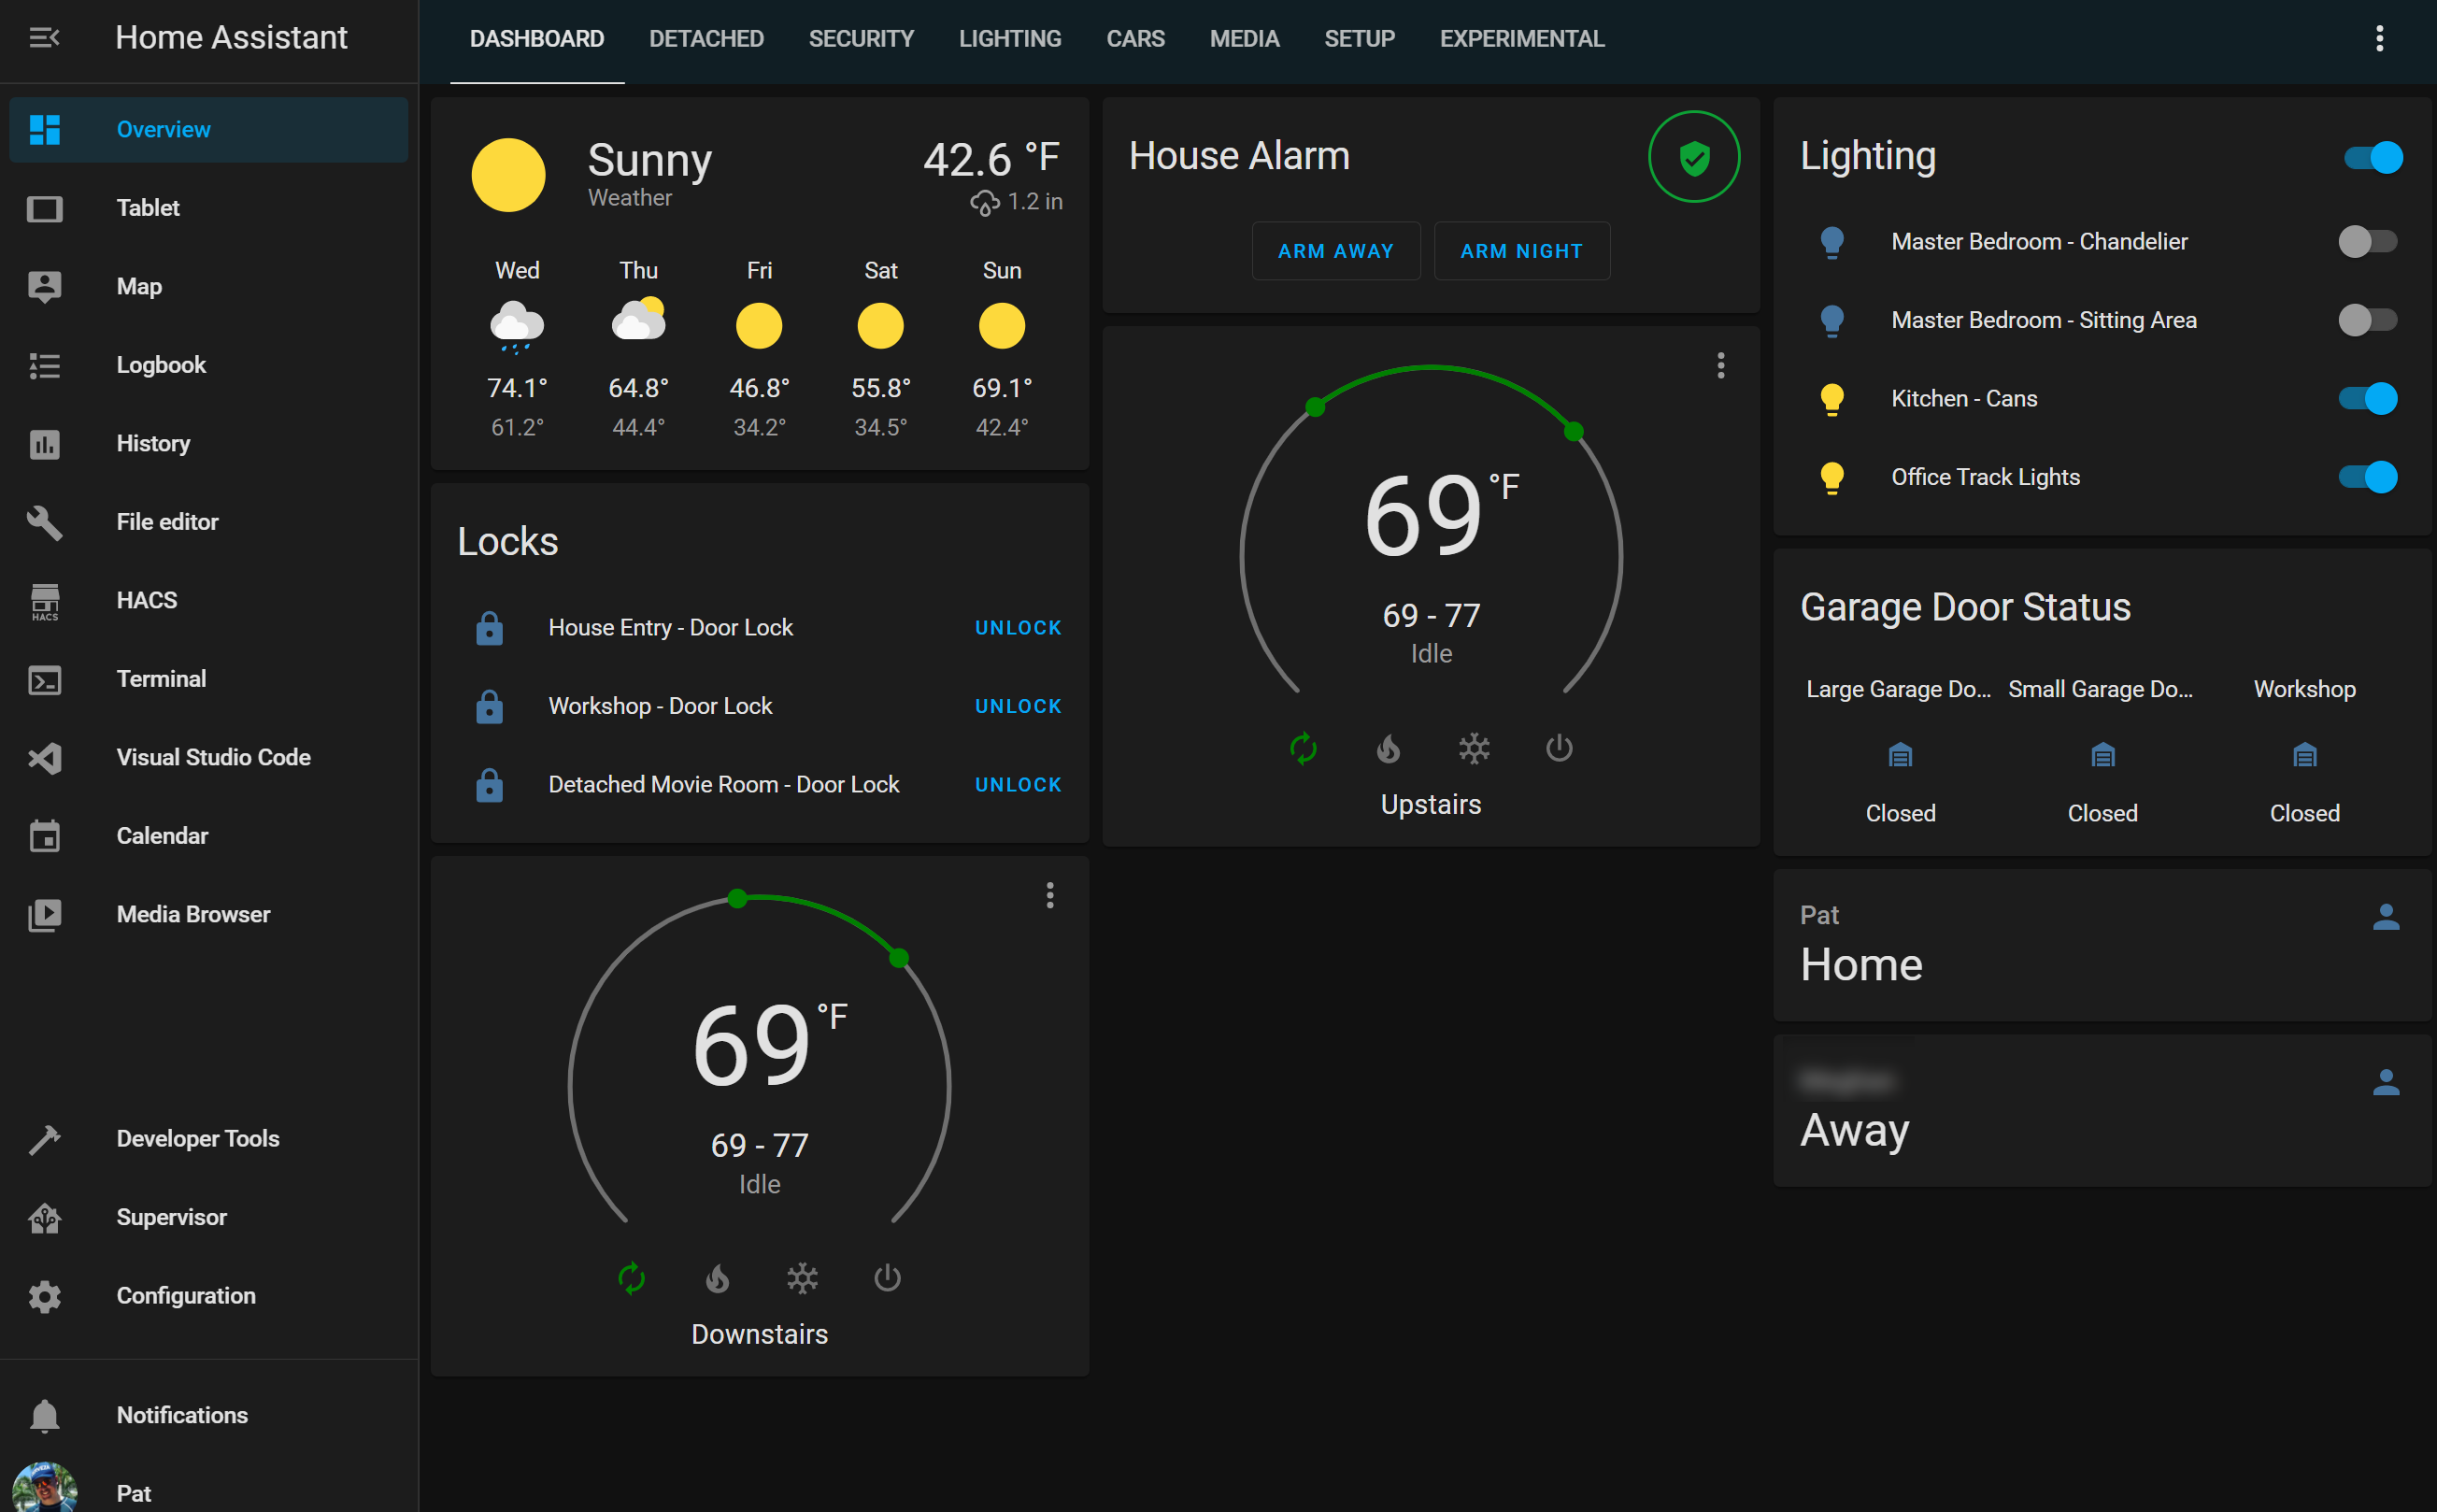
Perhaps the biggest challenge of home automation, and IoT in general, is integrating different devices. Your home thermostat might use a proprietary cloud, while your alarm system has an old-fashioned serial port interface. One of the great benefits of Home Assistant is that many of these devices have pre-built interfaces, called integrations, that allow you to connect everything from electric vehicle charging stations, to Apple TV devices. You’ll likely find that you already have several notifications announcing that devices were discovered and can be integrated, as Home Assistant will automatically scan your network and identify devices. Each integration may provide several devices, and each device can contain one or more entities.
SEE: Want to build a home lab for containers and virtualization? Consider mini PCs (TechRepublic)
This might sound confusing at first, but consider the example of the Apple TV integration. I have two Apple TV devices in my home, so the Apple TV integration creates two devices, one for the Apple TV in our living room, and one for the Apple TV in the guest room. Each of these devices has two entities. One is a remote control that allows Home Assistant to send commands like Play, Pause, etc., to the Apple TV, and the other is a media entity, that indicates the status of the Apple TV. Other entities might be things like light switches or motion sensors.
Home Assistant provides fairly straightforward tools for creating dashboards to control your devices, but the magic in home automation begins when you start to truly automate your home, capturing changes in various entities and using that information to control other devices. Home Assistant uses a markup language called YAML to create automation programs, but can also use Node-RED. I find the former a bit clunky, so I do most automation routines in Node-RED, which range in complexity from turning on my office lights in the morning when motion is detected, to determining when we’re heading home from a vacation and setting the HVAC system and lighting accordingly using the geolocation of our phones.
SEE: Let go of perfection: Don’t waste time on projects that won’t yield much result (TechRepublic)
The possibilities with home automation have always been intriguing, and Home Assistant’s robust integrations, mature (and free) software, and ability to integrate easily with Node-RED finally bring these possibilities closer to the skillsets of mere mortals like me. There are some great Getting Started tutorials on the Home Assistant website, and aside from making your home do some exciting and helpful tricks, you’ll learn the core skills needed to connect, integrate and communicate between various IoT devices.

Smart Cities and IoT Newsletter
Stay informed about smart cities tech, which includes innovations in IoT, 5G, security, data analytics, mobile apps, and more. Thursdays
Leave a Reply